
10 Best Puff Ink for Screen Printing Suppliers
Puff Ink For Screen Printing can turn a flat cotton tee into a raised, tactile design. The effect looks simple on a product page. On press, it depends on ink formulation, mesh choice, deposit thickness, and careful curing. A small change in any of these can leave the print soft, uneven, or under-expanded.
For this guide, fictional screen-printing specialist Dana Mercer offers an illustrative shop-floor reminder: “A clean puff starts with a controlled deposit, not a hotter dryer.” That is a practical principle, not a verified quotation from a real industry expert. Test prints remain essential. Check the ink’s technical data sheet, then run a sample on the actual garment. Watch how the surface rises after curing. Feel the print once it cools. Does it stay flexible? Does the texture look consistent across the design?
The 10 suppliers featured in this overview can help printers compare product options, support, and application guidance. Look beyond price. Ask about recommended mesh counts, curing conditions, available colors, and compatibility with your fabric. Supplier advice matters, but it should be confirmed through testing on your own press. One detail is easy to miss: a dramatic puff on a sample may not behave the same way on a production run. That deserves a second look.
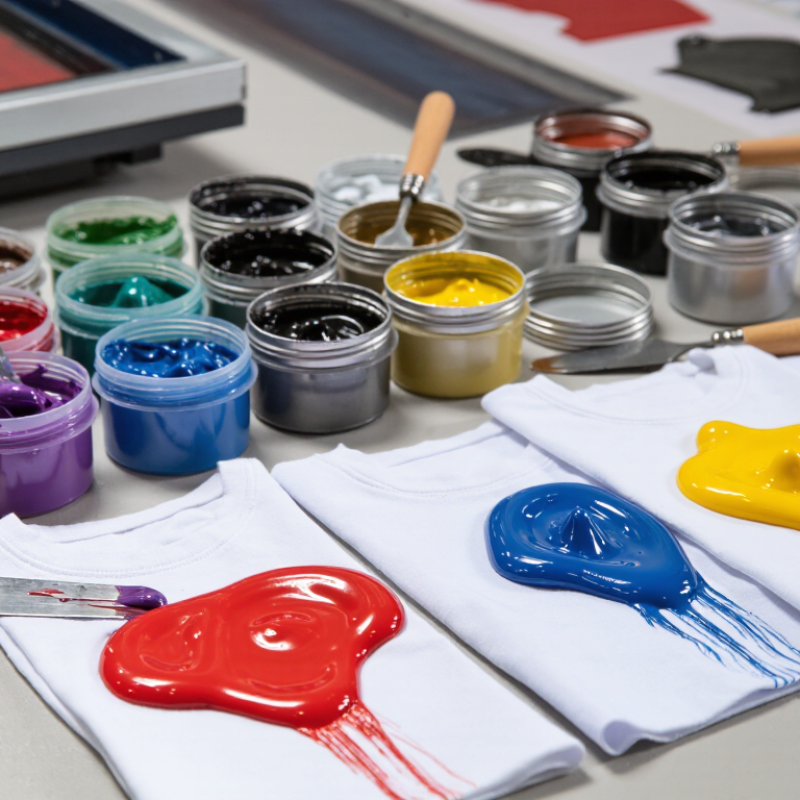
How Puff Ink Expands: Heat-Activated Foaming Creates Raised Prints
Puff ink rises when heat activates a blowing agent inside the ink film. Tiny gas bubbles form, lifting the printed layer into a soft, raised surface. The effect depends on ink deposit, drying, fabric, and curing temperature—not heat alone. A thick screen deposit may look dramatic, but excessive heat can flatten the foam or leave a brittle, uneven print. On press, check the center and edges of the design; they may expand differently.
Substrate choice matters. Textile Exchange’s 2023 Materials Market Report says polyester made up 57% of global fiber production in 2022, so printers often encounter synthetic blends that respond differently from cotton during curing. Test the actual garment, not just a fabric swatch. Use a temperature probe to verify the ink film’s cure conditions, then wash-test the print and inspect its height and hand feel. Small trials help. Puff is not perfectly predictable; humidity, mesh, and squeegee pressure can shift the result. Keep notes on each setup, and accept that one test may still miss the final garment’s behavior.
Screen-Printing Starting Points: 86–110 Mesh and Product-Specific Deposits
An 86–110 mesh screen is a practical starting point for many puff inks. Its relatively open weave can pass the heavier ink deposit needed to build texture. A 110 mesh may give finer detail, while 86 mesh can lay down more ink. The right choice depends on the ink’s particle size, artwork, and desired rise. Check the product’s technical sheet before setting up; “puff ink” is not one uniform formula.
Deposit matters as much as mesh. Use a stencil thickness suited to the product, then make a small test print on the actual fabric. A steady squeegee pass helps avoid uneven patches. Too little ink may produce a weak rise. Too much can blur edges or cure unevenly. Watch the printed surface after curing, not just while it is wet. Measure the cure temperature at the ink film, and follow the supplier’s stated time and temperature range.
Ask suppliers for mesh recommendations, stencil guidance, and curing instructions specific to the ink you plan to use. Request a sample if possible. Print a few swatches, noting the mesh, pass count, and fabric. Small changes can alter the hand and height. I have found that a clean-looking test is not always the most durable one, so wash testing is worth the extra time. Even then, results may vary with fabric and shop conditions.
| Puff Ink Type or Application | Suitable Substrate | Starting Mesh Range | Deposit Approach | Key Selection Check | Practical Note |
|---|---|---|---|---|---|
| Standard plastisol puff | Cotton and compatible cotton-rich garments | 86–110 threads per inch | Use a controlled, even deposit; test one print stroke before production. | Confirm the ink’s expansion behavior and cure requirements in its technical data sheet. | A common starting point for raised lettering and simple graphics. |
| High-expansion plastisol puff | Cotton garments where a more pronounced raised effect is desired | 86–110 threads per inch | Begin with a moderate deposit and adjust only after a cured test print. | Check expansion consistency, surface texture, and compatibility with the garment. | A larger deposit does not automatically produce a cleaner or more durable result. |
| Low-expansion plastisol puff | Cotton and cotton-rich apparel with fine raised details | 86–110 threads per inch | Favor a neat, controlled deposit for smaller shapes and lettering. | Verify that the finished height and edge definition meet the artwork requirements. | Useful when a subtle relief is preferred over a tall, highly textured print. |
| Opaque puff for dark garments | Dark cotton or cotton-rich garments | 86–110 threads per inch | Test coverage and puff development on the actual garment color. | Check opacity, dye migration risk, and the ink maker’s recommended cure process. | A test print helps reveal whether an underbase or garment-specific adjustment is needed. |
| Color-matched puff print | Light or dark cotton garments | 86–110 threads per inch | Keep the deposit consistent across the printed area to reduce visible variation. | Assess the cured color, surface appearance, and expansion after printing. | Puffing can change how a color appears; judge color from a cured sample. |
| Puff accent over a flat print | Cotton apparel with both raised and non-raised graphic elements | 86–110 threads per inch for the puff screen | Apply puff only to designated artwork areas; keep neighboring flat details separate. | Check registration and the sequence recommended for the ink system. | A separate screen helps control where the raised effect appears. |
| Large solid-area puff graphic | Cotton or compatible cotton-rich garments | 86–110 threads per inch | Use an even deposit and inspect the cured print for uniform expansion. | Evaluate hand feel, edge quality, and flexibility on the intended garment. | Large areas can behave differently from small details; test the full artwork size. |
| Fine-detail puff graphic | Cotton garments with bold lettering or simplified shapes | 86–110 threads per inch | Keep artwork shapes open and avoid relying on very narrow gaps or strokes. | Review a cured sample for detail fill-in and legibility. | Raised ink can soften small details, so artwork and deposit should be evaluated together. |
| Puff print on a cotton-polyester blend | Blended garments, subject to ink-system compatibility | 86–110 threads per inch | Start with a controlled deposit and test on the exact fabric blend. | Confirm suitability for the fiber blend, dye migration precautions, and cure instructions. | Blend composition and garment dye can affect results; do not assume all blends behave alike. |
| Water-based puff system | Fabric types specifically approved by the ink supplier | 86–110 threads per inch as an initial trial range | Follow the system’s guidance for deposit, screen setup, and drying. | Confirm substrate compatibility, drying behavior, and the complete cure method. | Water-based formulations vary; use the product-specific technical data sheet rather than plastisol settings. |
Curing Puff Ink: Verify Each Supplier’s Specified Temperature and Dwell Time
A puff print can look fully raised while its ink film remains under-cured. Do not assume every supplier’s ink cures at the same temperature or dwell time. Request the technical data sheet and confirm whether its temperature refers to the ink film, dryer setting, or another measurement point. These are not interchangeable. Use a calibrated probe to check the printed surface, then record belt speed and the measured temperature for each test run. Small changes matter.
Ask each supplier for a stated cure window, test method, and guidance for your fabric and ink deposit. Treat a suggested setting as a starting point, not a guarantee. AATCC TM135, a standard method for measuring fabric dimensional change after laundering, includes evaluation after repeated wash cycles. Use it as one durability check, alongside stretch and adhesion tests. Wash samples only after they have cooled and conditioned consistently. Compare puff height and cracking under the same conditions. I have seen a print pass a quick touch test, then lose definition after washing. That result is easy to miss. Keep a sample from every supplier and document the actual curing conditions, even when the production schedule feels rushed.
Compare 10 Puff Ink Suppliers by Formulation, Substrate Range, and Support
Puff ink suppliers differ in how their formulas expand under heat. Some produce a soft, rounded surface; others create a firmer, taller texture. Ask for a cured sample, not just a wet swatch. Check the printed surface under angled light, then rub it gently after cooling. Small differences can matter on a large run.
Substrate range needs a practical test. Cotton, cotton blends, and some polyester fabrics may respond differently to the same ink. A supplier should explain recommended mesh, deposit, flash conditions, and curing guidance for each fabric type. If those details are vague, request a small production-style trial. Keep the print area consistent. That part is easy to overlook.
Support is more than answering emails. Useful guidance includes troubleshooting uneven expansion, pinholes, or a rough hand feel, with clear adjustments to test. Ask whether technical staff can review your fabric, equipment, and target finish. No supplier can guarantee identical results across every press and garment. Still, responsive support and documented instructions make problems easier to diagnose, even when the first test misses the mark.
Assess Supplier Quality Through Test Prints, Wash Tests, and Compliance Documents
A supplier’s sample can look convincing under bright showroom lights. Request test prints on the fabric you actually plan to use, such as cotton jersey or a polyester blend. Keep the screen, deposit, and curing settings consistent across samples. Record the puff height, edge definition, and any pinholes after printing. Small details matter.
Wash testing reveals problems a fresh print can hide. Wash several samples using the care conditions your customers are likely to follow, then inspect them after repeated cycles. Look for cracking, flattening, color loss, or ink lifting at the edges. Let the fabric cool fully before judging the raised texture; handling it warm can give a misleading impression. A single wash is not enough.
Ask suppliers for current safety data sheets and relevant compliance documents for the specific ink formulation. Check that document names, dates, and product details match the sample being evaluated. If information is unclear, request written clarification rather than relying on a verbal assurance. Keep the records with your test notes. This takes extra time, and it can feel overly cautious, but supplier paperwork and print performance should support each other. A neat sample alone proves little.
10 Best Puff Ink for Screen Printing Suppliers
A practical supplier assessment framework based on test prints, wash testing, and compliance documentation.
Recommended evaluation weights, not results from a supplier survey: test-print quality carries 40%, wash-test performance 35%, and compliance documentation 25%. Compare suppliers using the same fabric, print setup, curing conditions, and wash-test method; verify applicable documents for your market and intended use.